Set up your new WiseEye Cam
Step 1: Purchase WiseEye Cam
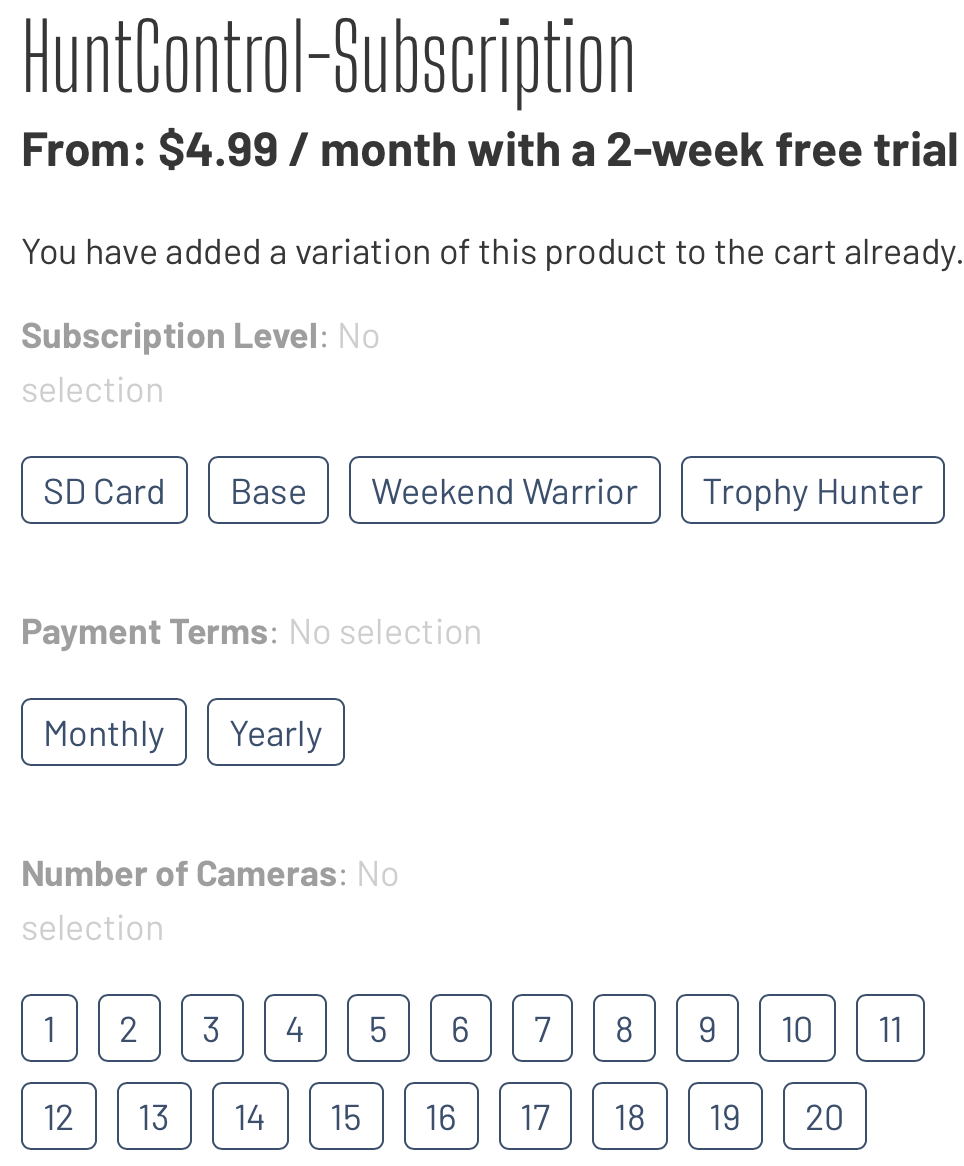
Step 2: Setup Your Subscription
Step 3: Add Your Cam to HuntControl
- Download the HuntControl app using the links below.
- Go to the Cameras tab and press the “+” button at the bottom.
- You can then either type in or scan the IMEI number from the QR code on the bottom of the box or on the inside of the camera
- Click Here to go to the HuntControl website.
- Login using the credentials you made when you purchased your subscription.
- Go to the Cameras/Map page and press the “Add Cameras” button at the bottom.
- Enter the IMEI and a name for the camera.

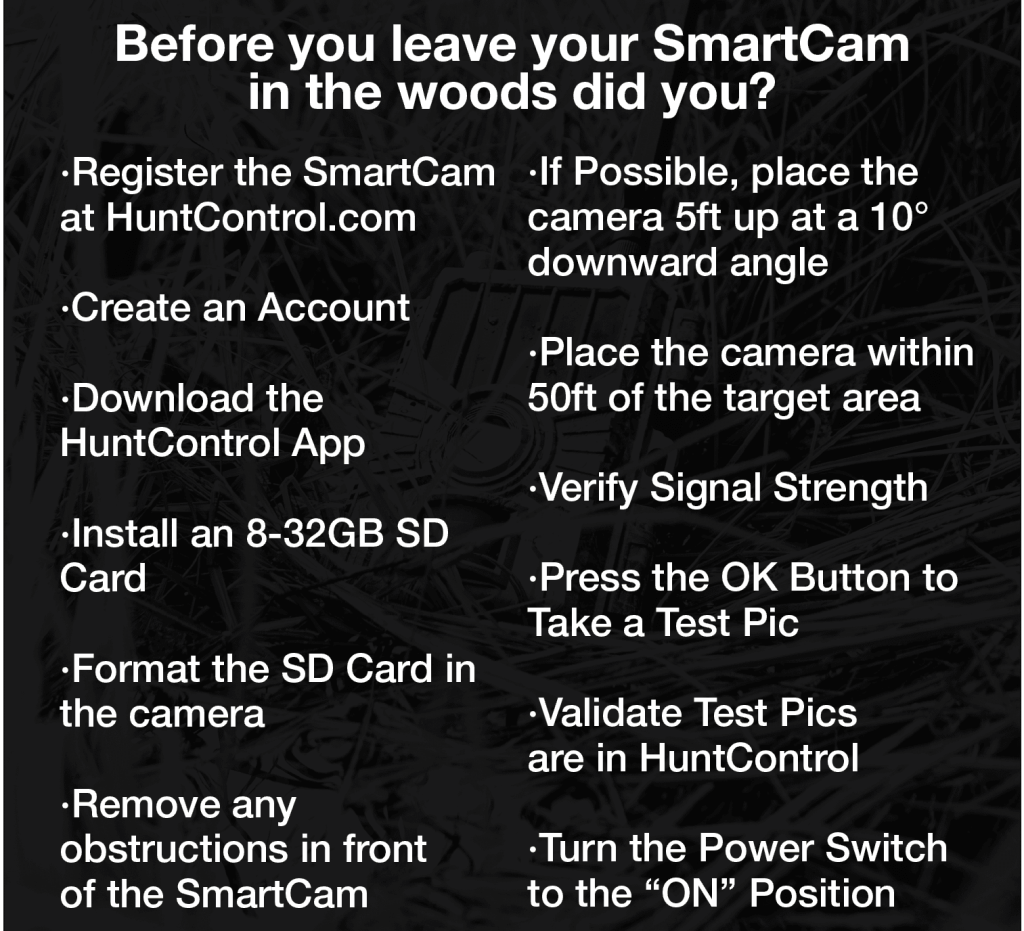
Step 4: Set Up Your WiseEye Cam
-
Power the WiseEye: The WiseEye camera can operate on either 12 AA’s (Data Cam 2), 8 AA’s (Mini Cam 2) or a 12v external power source (Solar Panel or 12v Battery). Do not mix batteries of different types or ages in the camera.
-
Insert and format the SD card: The SD card can be inserted on the side of the camera (the DC-2 has it’s own built-in storage and does not require and SD card). Please use an 8-128GB, Class 10, SD card (WiseEye SD card is recommended). Every other brand SD card inserted in the original Mini Cams or Data Cams must be formatted. (Formatting an SD Card)
- Test Connection: Turn the WiseEye Cam to the SETUP position. Let the Camera power up and find a cell signal and/or GPS location. (Note: The Mini Cams does not have a built-in GPS). Tap the OK button to manually take a picture. Watch for a send succeed message to see if the picture was sent successfully. The picture should show up in your HuntControl account soon after. If you’re logged in to the HuntControl App, a notification of the Image being received should appear.
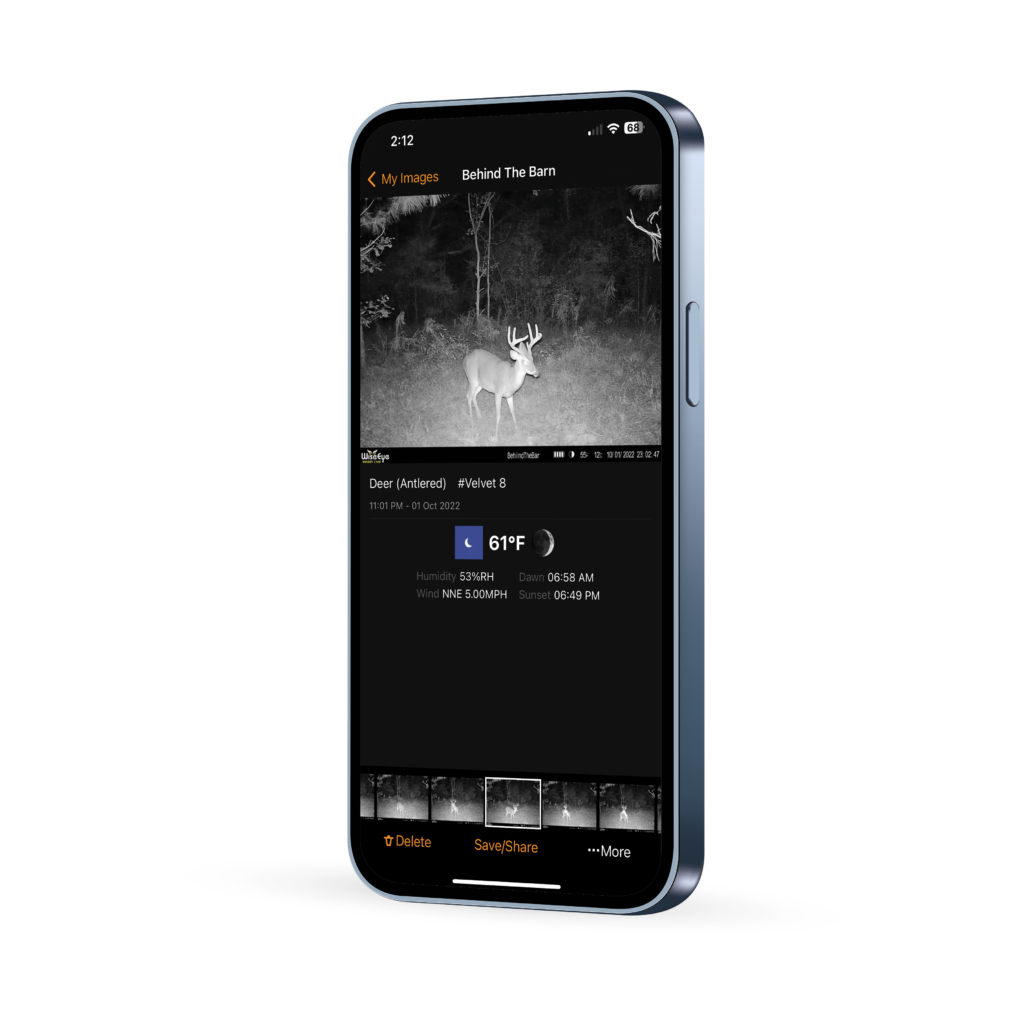
Step 5: Check HuntControl
Your images will be sent to HuntControl where they are automatically sorted by species.
You can go into your profile page and change your notification settings to receive every picture when it comes in or only of select species.
You can also change the settings of the camera under the Cameras tab and clicking the gear icon.
Make use of the Activity Charts, Weather Data and Best Time Predictor to have the best season ever.
Learn more about HuntControl HERE